How to Add a Hook in the First 3 Seconds of Your Clip
The hook decides if viewers stay or scroll away. See how to add a hook in the first 3 seconds of your video clip, using AI or a colored bar.
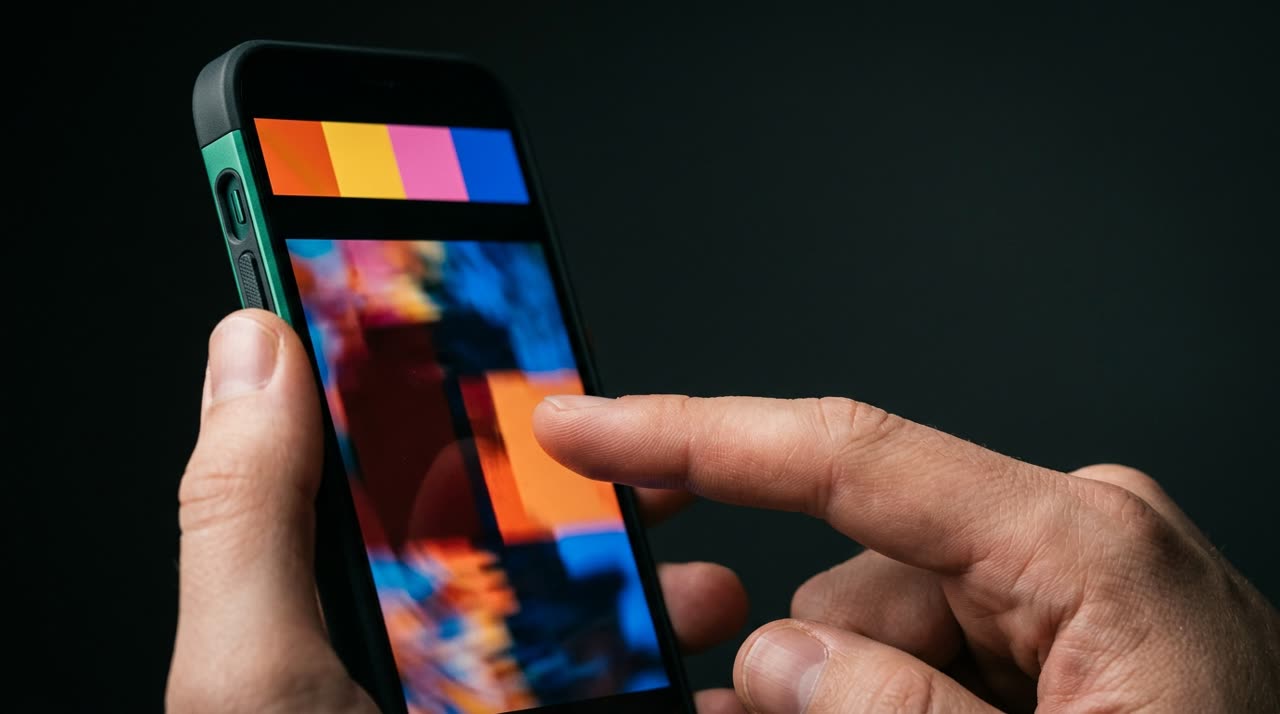
How to Add a Hook in Your Video Clip (and Why the First 3 Seconds Matter Most)
Anyone who edits clips has felt this: the cut is good, the moment is strong, but the video gets few views. Usually, the problem isn’t in the middle or the end—it’s at the start. The first 3 seconds are the barrier that separates those who stay from those who scroll away. That’s why knowing how to add a hook in your video clip has become the most valuable skill for anyone working with Reels, TikTok, and Shorts.
In this guide, you’ll learn what a hook is, why it needs to appear right away, and the two ways to add it to your clip: automatically (with AI) or manually, using a colored bar that covers the screen.
What Is a Hook and Why It Keeps Viewers Watching
A hook is the promise you make in the first seconds. It’s the phrase, question, or statement that tells viewers: this is worth your time. Without it, the algorithm shows your clip, the viewer sees a random start, and leaves before 2 seconds. With it, retention rises—and retention is the fuel that helps your clip reach more people.
A good hook usually takes one of these forms:
- Direct question: "Did you know you can cut an entire live stream in minutes?"
- Strong statement: "No one tells you this about clips."
- Curiosity: "What happened next changed everything."
- Number or list: "3 mistakes that kill your clips."
The point isn’t to trick anyone. It’s to highlight the value already in the clip. If the moment is good, the hook just needs to signal that it’s coming.
The Two Ways to Add a Hook to Your Clip
At Picotta, our clip studio, the hook isn’t something you draw by hand in a heavy editor. It’s part of every clip’s generation, and you choose between two options.
1. Automatic Hook by AI
When you enable the automatic hook option, the AI reads the transcript of the segment, understands the content, and writes a short, magnetic opening phrase. This text appears as a colored bar at the top of the clip during the first few seconds, then fades out smoothly, freeing up the screen.
The automatic hook is recommended when you’re processing many clips at once or don’t want to spend time crafting a phrase for each one. The AI has already seen the content and suggests something aligned with the moment.
2. Manual Hook (You Write the Phrase)
If you have a specific phrase in mind, just write your own hook. The text appears on the same colored bar, stretching across the screen, large and readable, highlighted in the first seconds. This is great when you know a channel’s audience and exactly what phrase will hold their attention.
You can also simply turn off the hook if the clip already opens with a strong line that any text overlay would spoil.
| Mode | When to Use | Effort |
|---|---|---|
| Automatic (AI) | Many clips, fast workflow | None, ready-made |
| Manual | Specific phrase for the audience | Write 1 line |
| Off | Clip opens strong enough | None |
The Colored Bar: Why It Works Better Than Loose Text
At Picotta, the hook isn’t a caption lost in the corner. It’s a bar that spans the screen from side to side, with large text on top, visible in the first seconds, then fading out. This headline style is what the best editors use by hand because it fills the field of view and keeps the eye from wandering.
You also control:
- The bar’s color (a preset palette or a custom brand color).
- The vertical position of the hook on the frame.
- When it disappears, freeing the screen for the content.
And because Picotta was designed to avoid that “AI look,” the result feels human-edited: no exaggerations, no artificial shine, with the aesthetic of someone who knows how to cut.
The Hook Doesn’t Work Alone: Combine It with Captions and Rhythm
The hook opens the door, but what keeps viewers until the end is the whole package. Combine the hook with:
- Automatic word-by-word captions that keep eyes on the screen even without sound.
- Tight cuts that remove pauses and silences to keep the clip’s pace right, no fluff.
- Face reframe that keeps the speaker framed properly in 9:16.
If you want to dive deeper into structuring clips that hold attention from start to finish, check out our guide on how to make viral clips, where we cover hook, payoff, and rhythm together.
Hook by Creator Type
The ideal hook changes depending on the format. Some practical examples:
- Streamers: the hook announces the climax of a play or reaction. See more at clips for streamers.
- Churches: a phrase summarizing the sermon’s message invites viewers to watch. Details at clips for churches.
- Podcasters: the hook previews a strong answer from the guest. More at clips for podcasters.
How Picotta Stands Out Here
Tools like OpusClip and Cut.Pro also generate hooks and do it well, with good moment curation. It’s fair to say they’re mature products. Where Picotta wins, especially for users in Brazil: billing in Brazilian Real and by card, no dollar dependency; live monitor that auto-cuts the stream as soon as it ends; default face reframe and tight cuts; and a design choice to never have that "AI look." For a full comparison, read Cut.Pro vs Picotta and our overview of the best AI clip generators in 2026.
Start Picotta-ing
Adding a hook to your clip is no longer a timeline editor’s job. Upload your video, choose between the AI automatic hook or your own phrase on the colored bar, and the clip comes out ready to hold viewers in the first 3 seconds. The rest of the studio (captions, tight cuts, reframe) works together to keep attention until the end.
Want to try it on your own video? Start picotta-ing now and see the hook in your first clip. If you want to explore more content first, check out the blog.
Pronto pra picotar o seu próximo vídeo?
Cole o link e receba cortes prontos pra postar. Grátis pra testar.
Comece a picotar →Sem cartão de crédito. Cancele quando quiser.