How to Make Split Screen Clips
Step-by-step guide to making split screen clips: combine your video with a second background and hold attention from start to finish.
How to Make Split Screen Clips
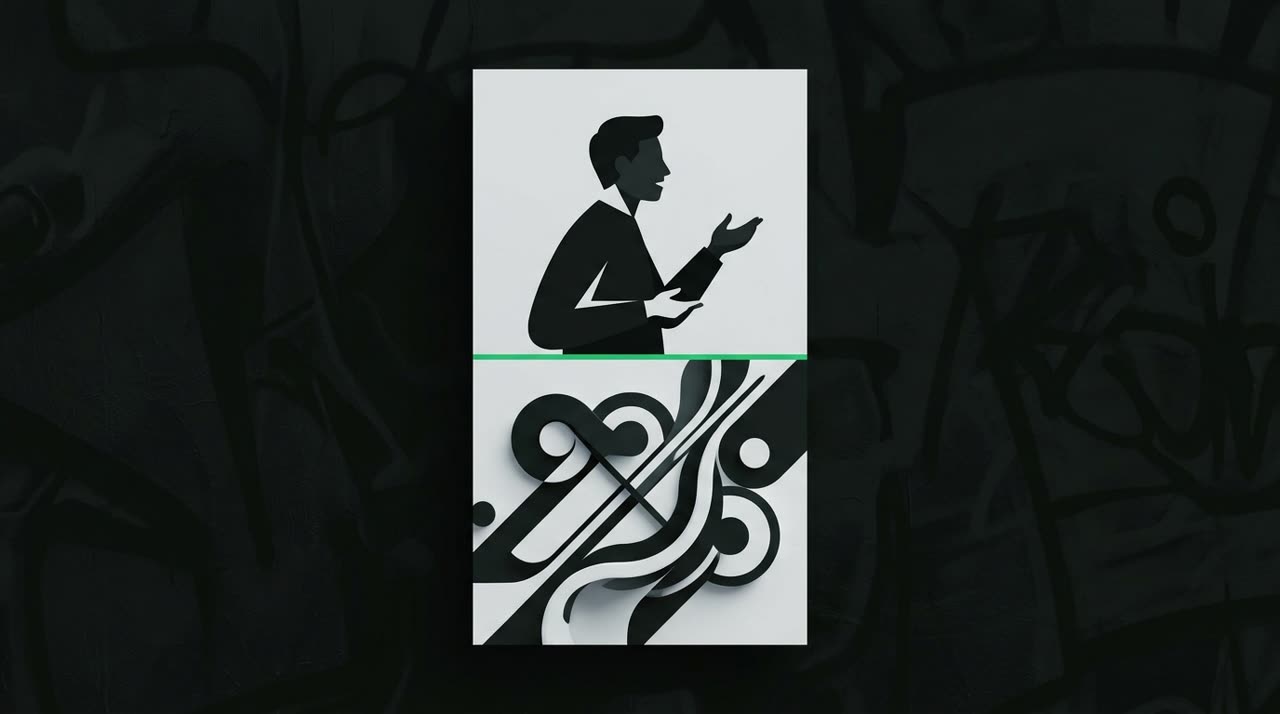
Anyone who edits clips has noticed: viewers scroll through feeds in seconds. The split screen format was created to fight this. The idea is simple: your video takes up half the screen, while a second background video (a gameplay, ball tracking, a satisfying scene) fills the other half. The eye always has somewhere to go, and the viewer stays.
In this guide, you'll learn how to make split screen clips practically, when this format is worth using, and how to set it all up inside Picotta's clip studio without getting stuck with complicated video editors.
Why Split Screen Works
This format went viral because it solves a real retention problem. While the speech carries the information, the background video provides the visual stimulus—that constant movement that stops the finger from scrolling away.
It works especially well for:
- Podcast and interview clips, where the camera is static and the conversation is long.
- Sermons and classes, where the stage changes little and the background adds rhythm.
- Reaction and commentary, placing you over the video being discussed.
If your content is more "talking head" than action, split screen is one of the cheapest ways to keep energy high.
What You Need Before Starting
No magic here. You need:
- The main video—the clip with the speech (upload directly or use a YouTube, Twitch, Vimeo link).
- A second background video—either your own file or another link.
- A layout decision: should the background stay fixed below the whole time, or appear and disappear in windows?
With that, the rest is just setup.
How to Make Split Screen Clips in Picotta (Step by Step)
In Picotta, split screen is a native feature of the clip studio—you don’t need to build two timelines in a separate editor.
1. Upload the main video
Open the clip studio, upload your long video or paste the link. The AI transcribes and automatically finds the best moments.
2. Enable split screen and choose the second background
In the clip settings, turn on split screen and provide the second video—file or link. This will fill the bottom half.
3. Choose the display mode
Picotta offers two behaviors:
| Mode | How it works | When to use |
|---|---|---|
| Always | You on top, background fixed below all the time (stacked fixed screen) | Dense speech, podcast, long class |
| Alternating | Background covers bottom half in windows—the screen switches between full and split | Clips with pauses, to create variation |
4. Add captions and finish the clip
Automatic captions appear on top, and you can choose style, branded post theme, and opening hook—all in the same flow.
5. Generate and download in 9:16
The clip comes ready for Reels, TikTok, and Shorts, without watermark on paid plans.
Tips to Avoid Amateur-Looking Split Screens
- Background should complement, not compete. A calm gameplay or satisfying scene works better than something full of text and abrupt cuts fighting for attention with your speech.
- Always use captions. Most watch without sound; captions hold viewers who are muted.
- Don’t overdo it. Not every clip needs split screen. Moments with strong emotional impact often work better with a close-up face than divided screen.
If you want to dive deeper into pacing, hooks, and payoff, the guide how to make viral clips complements this one well.
Where Picotta Stands Out
There are great clipping tools on the market, and to be honest: OpusClip has a mature ecosystem, and Cut.Pro is a strong, well-positioned Brazilian competitor. If you already use one and are happy, great.
Where Picotta favors creators working in Portuguese:
- Billing in Brazilian Real, by card. No dollar conversion or surprises at the end of the month.
- Live monitor. You register your channel, and when the live ends, clips queue automatically—great for streamers and churches.
- Face reframe and clean cuts. The 9:16 framing follows the speaker and silences are removed, keeping the clip’s rhythm—even with split screen.
- No "AI look." Clean layout, with your branding instead of a generic banner.
Want a detailed comparison? Check out Cut.Pro vs Picotta and the roundup of the best AI clip generators in 2026. And if you deliver to clients, the format scales well for agencies and social media.
Conclusion
Split screen is one of the simplest ways to boost clip retention: while the speech informs, the background holds the eye. You’ve seen how to make split screen clips from start to finish—choosing the second background, deciding between fixed or alternating mode, and finishing with captions, theme, and hook.
The best part is that in Picotta, it’s just one click within the normal workflow—no need to build two timelines in a heavy editor.
Start clipping. Create your free account and make your first split screen clip today. Check out the plans and pricing whenever you want to remove the watermark and unlock the live monitor.
Pronto pra picotar o seu próximo vídeo?
Cole o link e receba cortes prontos pra postar. Grátis pra testar.
Comece a picotar →Sem cartão de crédito. Cancele quando quiser.